


.
Combining a little Bright Work
.
Reluctant to cover all that beautiful wood with paint, but concerned about the relatively short life of varnish?
Well, you might like to try this as a compromise.
Personally, I love to see some natural wood on my boats, at least for the first decade of their life. As a youth, before epoxy, my first dozen boats were 100% varnished above the waterline and it was beautiful. It’s not only very relaxing to the eyes but wood grain has something hypnotic about it that we are all pulled to, though there’s no denying that it requires much more maintenance than paint and ultimately breaks down in flakes or mini cracks that go black from moisture getting in, things that rarely seem to happen with good paint properly applied.
But here’s what I have found gives me at least that first decade and also simplifies maintenance.
First, I try to plan my bright work (varnish) on simple, flat surfaces that will be easy to sand and prepare. I also start with two coats of clear epoxy to lay down a waterproof barrier. I do this over all surfaces before even deciding where the varnish or paint will go. I then wash off any amine blush from the epoxy by wet-sanding with a flat homemade sander of 6mm plywood (about 200 x 100) with a 100 grit wet-and-dry paper bonded to it. This creates a clear and smooth matt surface to work on.
Then I decide on the paint-varnish intersection, with most 3D corners planned to be painted to eliminate annual maintenance in those tricky areas. This results in flat areas that will still be bright but requiring a simple design to define the paint interface. This way, all the exterior epoxy coving ends up being painted.

Before adding any paint, I apply 3 thin coats of marine spar varnish (with UV protection) over the planned bright areas. A look at this view of the cockpit of my W17 Magic will show these areas and the interface between varnish and paint can be managed with simple masking tape and circles of adhesive paper that are cut into 4 quadrants to mask the corners. 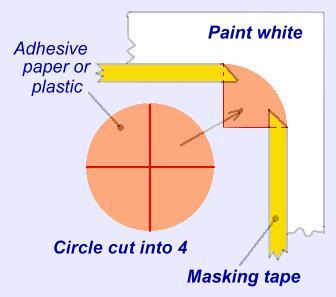
If you cannot find a suitable adhesive paper, you can layer masking tape together over waxed paper, draw on a circle and cut the quadrants. Adhesive kitchen paper is one option but if it’s too adhesive, first lay it down on a clean flat surface and then remove it. This will ‘take the edge off the adhesive’ so it will not bond so aggressively to your varnish.
Even before laying down the masking tape, I will typically paint the final 2 coats of paint over the main areas, going to within 3-4mm of the final line, and once fairly hard (a few days with most one-part paints), I wet sand the paint edge before wiping down with a damp rag. Once dry and well cured, one can now add the masking tape over your bright work
For my cockpit seats I first pasted down a quadrant at each corner and connected these with a masking tape to give a clean defining line. One then paints to this line, flowing in a continuous layer of paint with a fairly small bristle brush that is not too thick. This is to make sure you do not have an excess of paint that will layer-on too thick, causing an issue when you remove the masking. (I personally find a thick brush often holds too much paint and can be problematic).
You can use your artistic ideas to deal with special areas and here is an example. 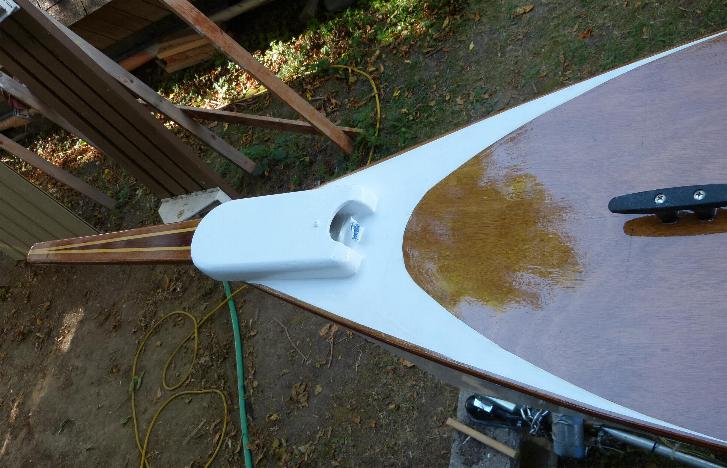 On the W17 there is a wide deck box to hold the removable bowsprit which can look rather ungainly if not blended in with a nice paint line. I wanted to paint the whole box to lower maintenance and ‘hide’ the box, but still wanted brightwork on the foredeck. So here is how I finally painted myself around the issue. Most boats have such awkward spots that can be made to look a lot more integrated if ‘painted in’ with one color.
I tapered the paint out to the gunwale as I wanted to leave most of the mahogany gunwale varnished where visible. (ie, it’s painted under the cockpit seat). Masking tape can be laid giving a slight curve if you put one edge down first and then you can either make the bow radius by hand or cut some adhesive paper with your chosen radius. As I prefer to remove the masking tape fairly soon after painting, it will be removed after one coat. That’s why I prefer to initially put down a first coat of paint to within 3-4mm of the final line, so that my final coat to the masking tape is done with only one coat. This way the paint edge is also not too raised above the varnish.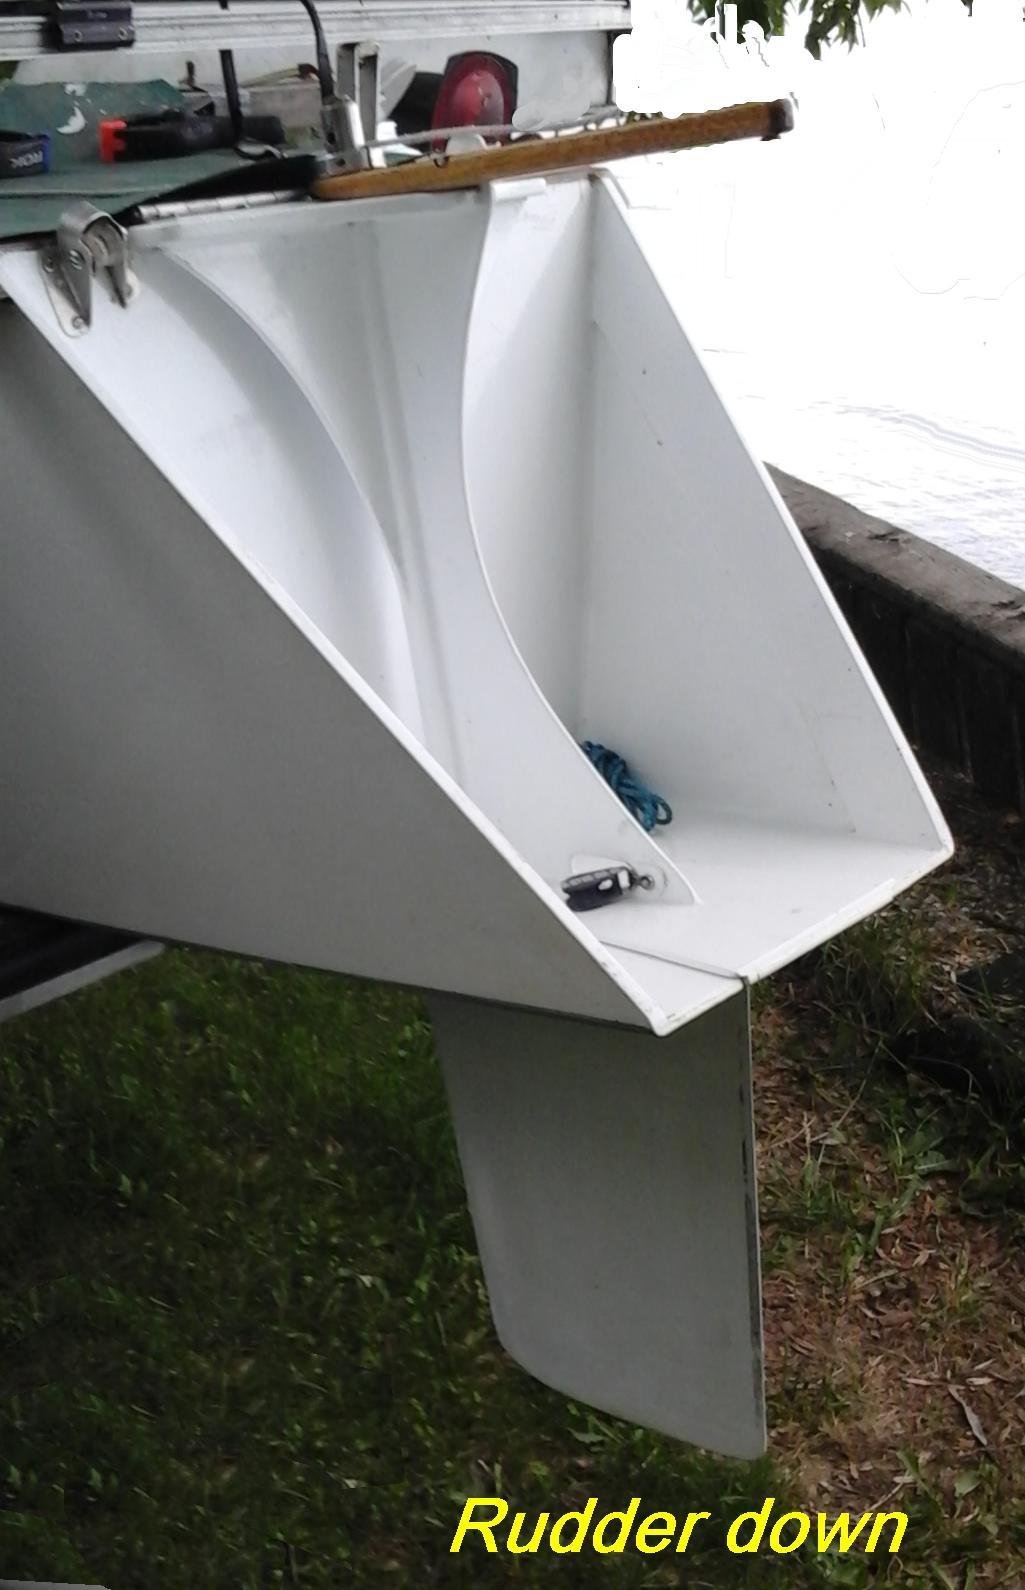
Anyway, I accept and agree that there are many ways to tackle this but perhaps this will give you some ideas to work with.
After a few seasons, I thought it would look better to paint in the rear scoop and rudder stock assembly.
Once again, such ‘busy items’ like this DO blend in better if all painted the same color, but I still have the decks, cockpit seats and floor in varnish, though I did paint the top of the forward hatch in white when I painted the rudder scoop. Sure, after about 15 seasons, I may have to ‘give in’ and paint everything, but for now, I am still enjoying the visual relief of some bright work …. and if you so choose, so can you.
Enjoy ,... mike, Dec 2022
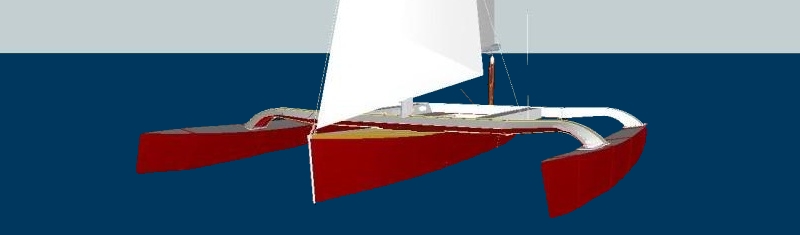
Please note that considering the large surface area that ALL trimarans have, the W17 is particularly easy to work on surface maintenance. The hulls separate easily and the main hull can be readily accessed from its flatbed trailer … see this article
.
"If you have any questions about the W17, please use our question & comments form." —webmaster
.
"See the Copyright Information & Legal Disclaimer page for copyright info and use of this text or article"