


.
Access for Hull Maintenance for the W17
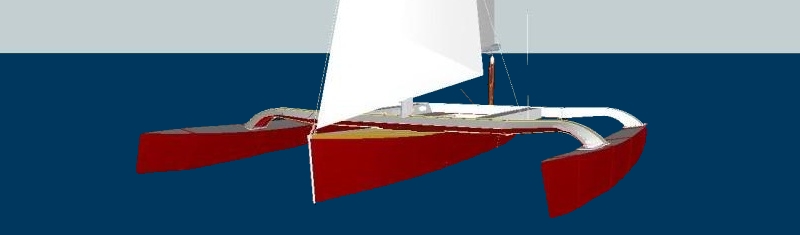
One of many nice features of the W17 is the quick and easy way the amas can be separated from the main hull for maintenance and repainting.
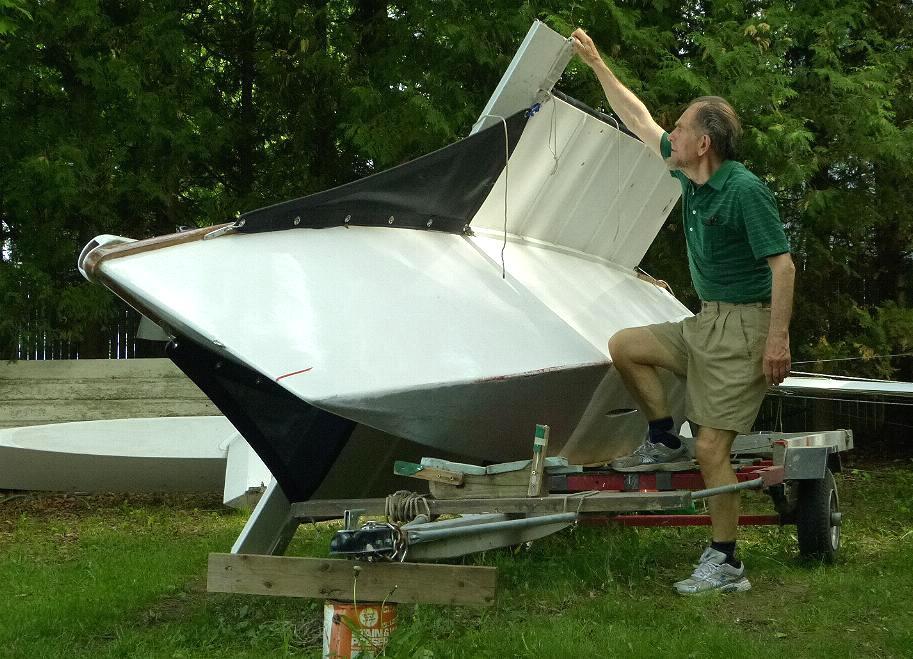
Once your W17 has her akas (transverse beams) permanently attached to the amas, you can easily incline her on her flat trailer and the amas can easily be removed. This permits each side of the main hull to be readily worked on for re-sanding, filling and painting. You can even paint under the bottom; in and beyond the daggerboard slot, and then flip to the other side. No major bending or heavy lifting is needed, nor does one need to squeeze underneath. Here are pics and more detail on how to achieve this.
Rolling the main hull
To remove the amas, you cannot pull out the upper hinge pins and lower on the latch bolts as might first seem a good idea. As the forward and aft beams are of slightly different depth, the latch pins are not in the same perfect alignment as the upper hinges. So best to do this.
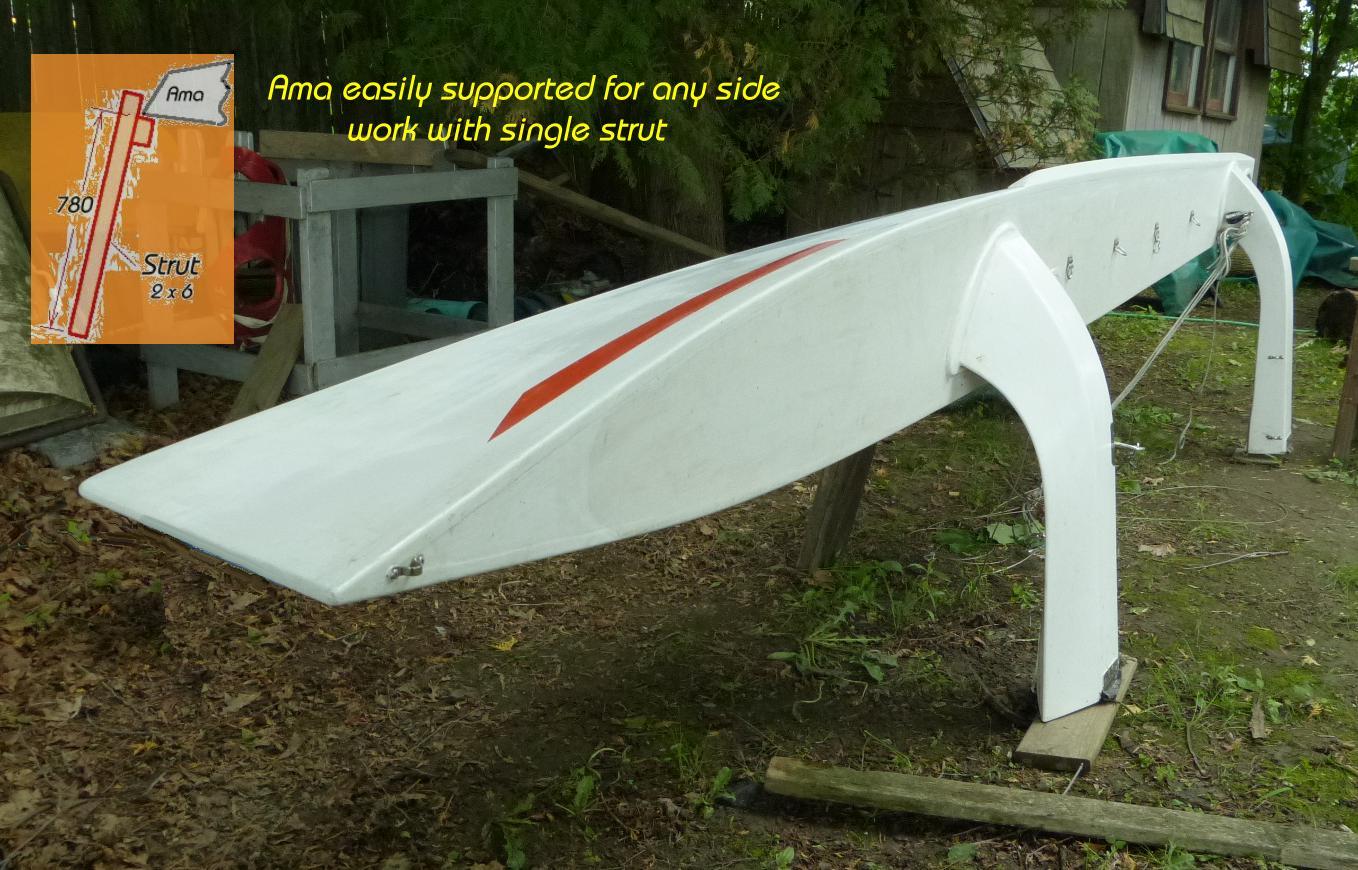
First, slightly lift up the beams and main hull and slide a firm rubber matt or foam sheet under the lower edge of the main hull on each side, centered about 60% aft. The hull chine will rest on this while rolling the boat to each side. Roughly speaking the main hull part will weigh about 200 lbs (91kg) but you will not be lifting anything close to that. Each ama with its beams will be around 90 lbs (41kg) so no big deal.
Remove the lower latch bolts on the side you want to remove the ama .... it will still hang there with its weight. After you have lowered the bow support on the trailer (to not dig into the hull side), incline the boat until the ama touches the ground .., landing it on something soft, like an old carpet, tarpaulin, foam etc Keep inclining and rest the latches and the now-open beam-joint on small stools, tires or foam blocks about 200 mm high.
Now put a prop under the ama on the other side that still has its latch bolts in place, so that you can remove the upper hinge bolts on the side of the ama on the ground and then slide the ama a little away from the main hull beam end. Now for the other side.
Lower the other side to the ground until the ama is on your ground support material, and first remove the latchbolts. Now lower the opening beam ends down on to some stools (or tires, foam blocks etc) and then pull the upper hinge bolts to separate the 2nd ama.
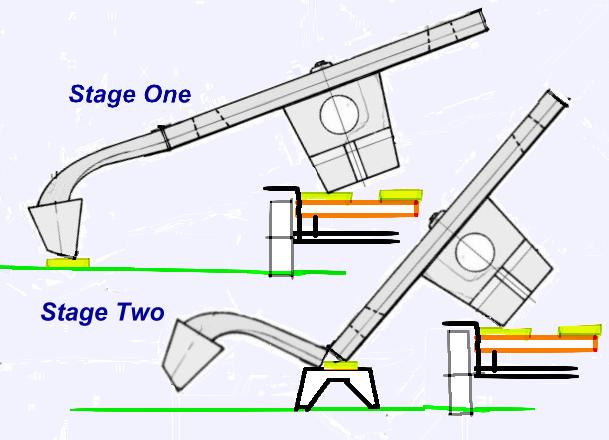
Of course, just for painting the main hull sides, you can also prop up the higher ama and leave them both bolted on, though you will not be able to get far under the bottom. (Compare Stage 1 with Stage 2 on above sketch to see comparitive access). Best to use two props though and tape or tie them on for security.
www.smalltridesign.com
Feel free to send in specific questions or comments via my Questions Form, that I may select to answer through this webpage if considered of broad interest.
"See the Copyright Information & Legal Disclaimer page for copyright info and use of any part of this text or article"